
A/C Compressor Clutch Installation and Assembly Guide: Best Practices for Precision, Performance, and Longevity
Precision Installation Defines Compressor Reliability
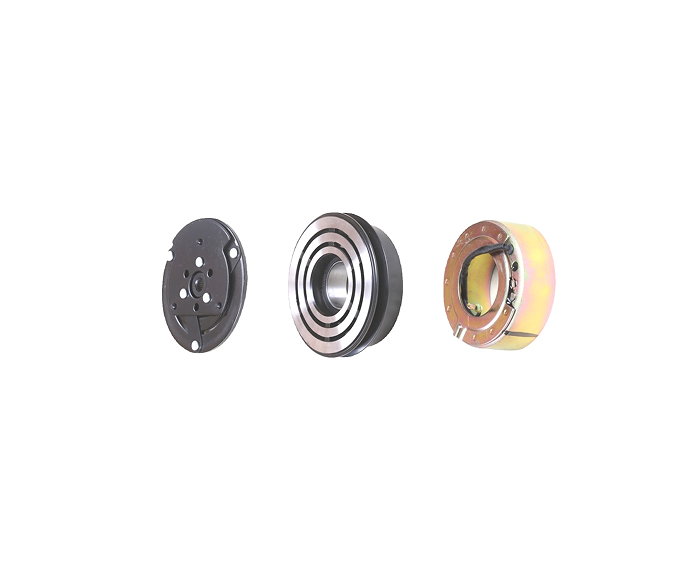
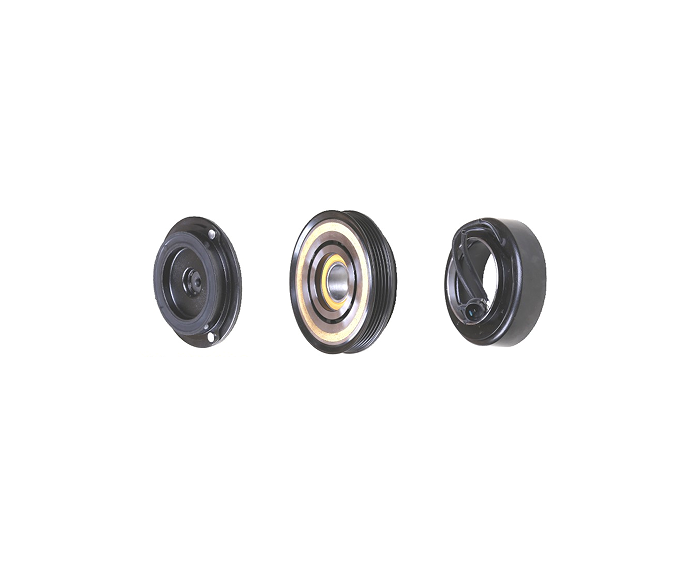
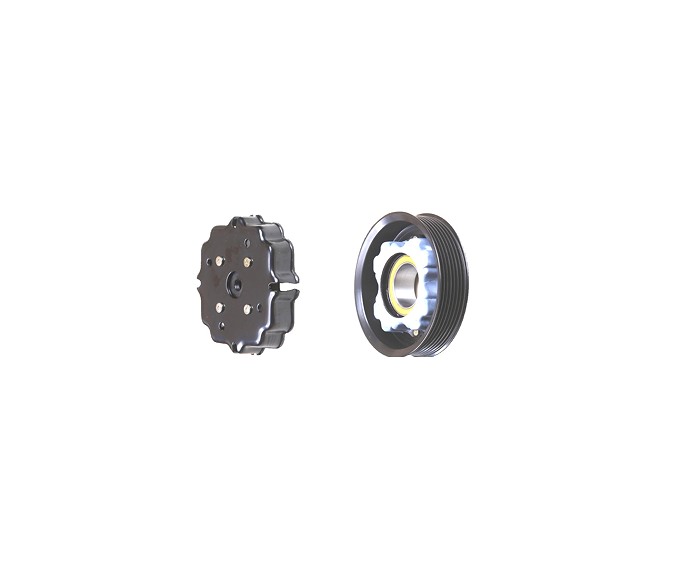
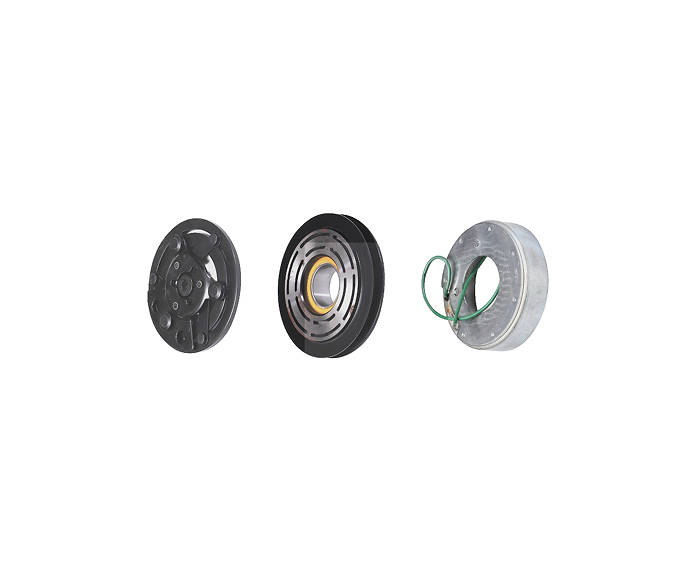
An A/C compressor clutch is a precision assembly that connects the engine’s power to the air-conditioning system on demand.
Even a small misalignment, over-torqued bolt, or incorrect air gap can lead to vibration, noise, or coil failure.
KASEN’s engineering team provides the following installation best practices to help technicians ensure accurate fitment, optimized performance, and maximum service life across all clutch models.
1. Preparation and Safety Precautions
Before beginning installation, ensure the vehicle’s A/C system and compressor are ready for service.
Checklist:
-
Disconnect the vehicle battery to prevent accidental clutch activation.
-
Clean all mounting surfaces to remove oil, rust, and debris.
-
Inspect pulley grooves and compressor shaft splines for wear.
-
Confirm that the replacement clutch matches the OEM part number or specifications.
-
Use only non-magnetic tools near the coil to avoid accidental magnetization.
KASEN recommends performing installation in a dust-free environment using a torque wrench and feeler gauge.
2. Installing the Pulley and Bearing Assembly
The pulley bearing supports continuous rotation, so correct press-fit installation is critical.
Procedure:
-
Apply a thin layer of lubricant on the compressor shaft to ease assembly.
-
Press the pulley onto the shaft using a hydraulic press or alignment jig, never by hammering.
-
Ensure the bearing outer race seats evenly within the housing—runout tolerance ≤ 0.02 mm.
-
Check pulley rotation manually; it should spin freely without resistance or noise.
Improper installation at this stage can cause bearing misalignment and future clutch drag.
3. Installing the Coil and Connector Assembly
The electromagnetic coil controls clutch engagement, so correct orientation and insulation are essential.
| Step | Action | Notes |
|---|---|---|
| 1 | Mount the coil on the compressor housing | Ensure locator pins align correctly |
| 2 | Torque mounting bolts evenly | Use 6–8 N·m torque |
| 3 | Route connector cable away from moving parts | Avoid contact with belt or pulley |
| 4 | Confirm insulation resistance | Minimum 10 MΩ at 500V test |
If the coil is reversed or misaligned, the magnetic field will weaken, reducing clutch engagement force.
4. Clutch Plate and Air Gap Adjustment
The air gap is the distance between the clutch plate and pulley face when disengaged.
Too small a gap causes frictional drag; too large a gap delays engagement.
KASEN Air Gap Specifications:
-
Standard Range: 0.4–0.6 mm
-
Measurement Points: 3 evenly spaced positions at 120° intervals
-
Adjustment Method: Add or remove OEM shims behind the clutch plate
Procedure:
-
Install the clutch plate onto the compressor shaft splines.
-
Insert retaining snap ring securely into the groove.
-
Measure the air gap with a feeler gauge at multiple points.
-
Adjust using shims (0.1 mm increments) until uniform clearance is achieved.
-
Rotate the assembly by hand—there should be no contact or scraping.
Maintaining a consistent gap ensures quick magnetic response and eliminates noise during engagement.
5. Torque and Fastener Calibration
All fastening points must be torqued precisely to avoid warping or loosening under vibration.
| Component | Bolt Size | Torque Value |
|---|---|---|
| Coil Mounting Bolt | M6 | 6–8 N·m |
| Pulley Retaining Bolt | M8 | 18–22 N·m |
| Clutch Plate Bolt | M10 | 25–30 N·m |
Use a calibrated torque wrench and tighten in a star pattern for even load distribution.
After tightening, recheck pulley alignment and rotational freedom.
6. Electrical Connection and Functional Test
Once mechanical installation is complete:
-
Reconnect the battery and activate the A/C system.
-
Measure current draw (3.5–4.0 A typical for 12V systems).
-
Listen for engagement click—it should be clean and immediate.
-
Verify cooling performance within 1–2 minutes of operation.
If the clutch fails to engage, check coil polarity, ground continuity, and air gap uniformity.
7. Common Installation Mistakes to Avoid
Even experienced technicians occasionally make errors that shorten clutch lifespan.
| Mistake | Consequence | KASEN Recommendation |
|---|---|---|
| Hammering pulley during installation | Bearing misalignment | Use hydraulic press or proper puller |
| Air gap outside 0.4–0.6 mm | Slippage or friction drag | Adjust using OEM shims |
| Dirty mounting surfaces | Poor grounding, vibration | Clean and inspect before assembly |
| Over-torquing bolts | Thread damage, warping | Follow torque specs strictly |
| Misrouted wire harness | Coil damage or short circuit | Secure harness away from moving parts |
Following Kasen’s procedures eliminates 95% of installation-related failures observed in the aftermarket.
8. Post-Installation Inspection and Break-In
After initial installation:
-
Run the A/C system for 10–15 minutes under load.
-
Monitor clutch temperature with an infrared thermometer (<120°C normal).
-
Check for belt alignment and noise.
-
Recheck air gap after 1 hour of operation; re-shim if deviation exceeds 0.05 mm.
Proper break-in ensures uniform friction surface contact and stable engagement torque.
KASEN’s Engineering Support for Installers
To support workshops and service centers, KASEN provides:
-
Detailed installation manuals with visual diagrams.
-
Online training videos for compressor and clutch replacement.
-
Technical hotline for real-time support.
-
Warranty coverage for verified professional installations.
For technical documents, distributor access, or OEM guidance, visit the KASEN homepage or contact the support team via the contact page.
FAQ: A/C Compressor Clutch Installation
Q1. What happens if the air gap is not properly adjusted?
Too large a gap causes delayed engagement; too small causes drag and heat buildup, leading to coil failure.
Q2. How can I ensure pulley alignment?
Use a straight edge across adjacent pulleys and confirm runout below 0.02 mm.
Q3. Can I reuse old shims during installation?
Yes, if undamaged and within tolerance; otherwise replace with OEM-grade shims for accuracy.
Q4. Does Kasen provide installation tools?
Yes, Kasen offers optional shim sets, pullers, and coil alignment jigs for service workshops.